
Tune correction and choose a reference
Use a stable background, interpret diagnostic views, and keep intentional lighting changes.
Before you begin: An analysed clip · a scene selected
Follow the steps
Pick the correction mode.
Choose Smooth flicker to retain gradual lighting changes or Steady scene for one median exposure target. Steady scene can reduce deliberate fades. Try Smooth flicker first when the scene includes a lighting ramp.
Change one control at a time.
Compare strength at a few representative frames, then adjust smoothing radius from the 0.5 s starting point. Larger radii smooth slower fluctuations. Spatial correction adjusts local changes; reduce it if local detail looks unstable. Set strength to zero to leave the scene uncorrected.
Choose a reference that stays visible.
Look for a textured static background with consistent intended lighting. Avoid moving characters, changing occlusions, very dark areas and clipped highlights. In Side by side, use the original image on the left.
Draw and verify the area.
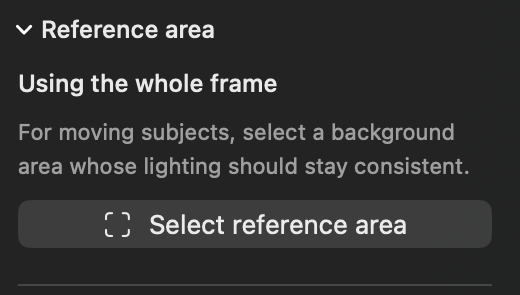
Expand Reference area, choose Select reference area, and drag a rectangle in the preview. Confirm “Using your selected area” and compare across the scene. The reference is cached across the clip for boundary adjustments. It belongs only to the selected scene and does not change cuts.
Return to the whole frame or share settings.
Use Use whole frame to remove the custom reference. Apply these settings to all scenes copies the reference and correction settings to every scene; the same rectangle may be inappropriate after a camera cut. Review each scene before applying it globally.
Inspect the diagnostic views.
The Preview menu offers Confidence mask, Motion mask and Correction field alongside Original/Corrected/Side by side. Use them to inspect where correction has support and where local changes occur. The correction field shows effective gain including tone mapping and highlight protection. They are review aids, not an exported quality score.
Save diagnostics only when useful.
Expand Diagnostics → Save diagnostics… and choose a local destination. Files include frame measurements, settings and gain/offset/confidence data. Mean estimates exclude pixel-level protection; check encoded output separately. Review files before sending them to support.
Too little stable content
The inspector reports stable patches for the scene. Fewer than 12 usable patches gives zero correction and a notice. Try a stable reference or revise the scene boundary. A tiny, dark or clipped reference is not necessarily better than the whole frame.
Judge the picture, not only the line
The green exposure line covers global correction. Local exposure/tone adjustments may change brightness and contrast elsewhere. Strong motion and unsupported regions can fall back toward global correction. Check texture, shadows and highlights in actual playback; colour instability needs separate attention.