
Clean speech, reduce hum, and shape a track
Use track processing, EQ and dynamics, then compare at matched loudness.
Before you begin: An editable composition · headphones recommended
Follow the steps
Select the track to process.
Open Sound and choose the speech track. Enable Enable track processing. Selecting a timeline clip also selects its track. Changes apply to that track’s preview and exports; the original audio stays intact.
Remove rumble or electrical hum.
Expand Rumble and hum. Start speech high-pass filtering at 80 Hz, then lower the cutoff if voices become thin. The range is 20–250 Hz. For mains hum choose 50 or 60 Hz and one to six harmonics. Higher notch focus narrows the removed band. Audition before adding more harmonics; filters can remove wanted audio too.
Use speech cleanup selectively.
Enable enhancement, speech noise reduction or the quiet-background gate only when needed. Adjust enhancement amount and compare with processing bypassed. Cleanup may prepare source audio with progress and cancellation. A gate reduces quiet gaps; aggressive settings can cut word endings or soft speech.
Soften harsh consonants.
Open De-esser → Reduce sibilance. Begin with 4.5 kHz detection, −30 dBFS threshold and 6 dB maximum reduction. Lower threshold gradually. This processor briefly lowers the whole signal on harsh high-frequency events; it is not a permanent treble cut. Live De-esser reduction is zero while paused and is not provided by rendered A/B references.
Shape tone with parametric EQ.
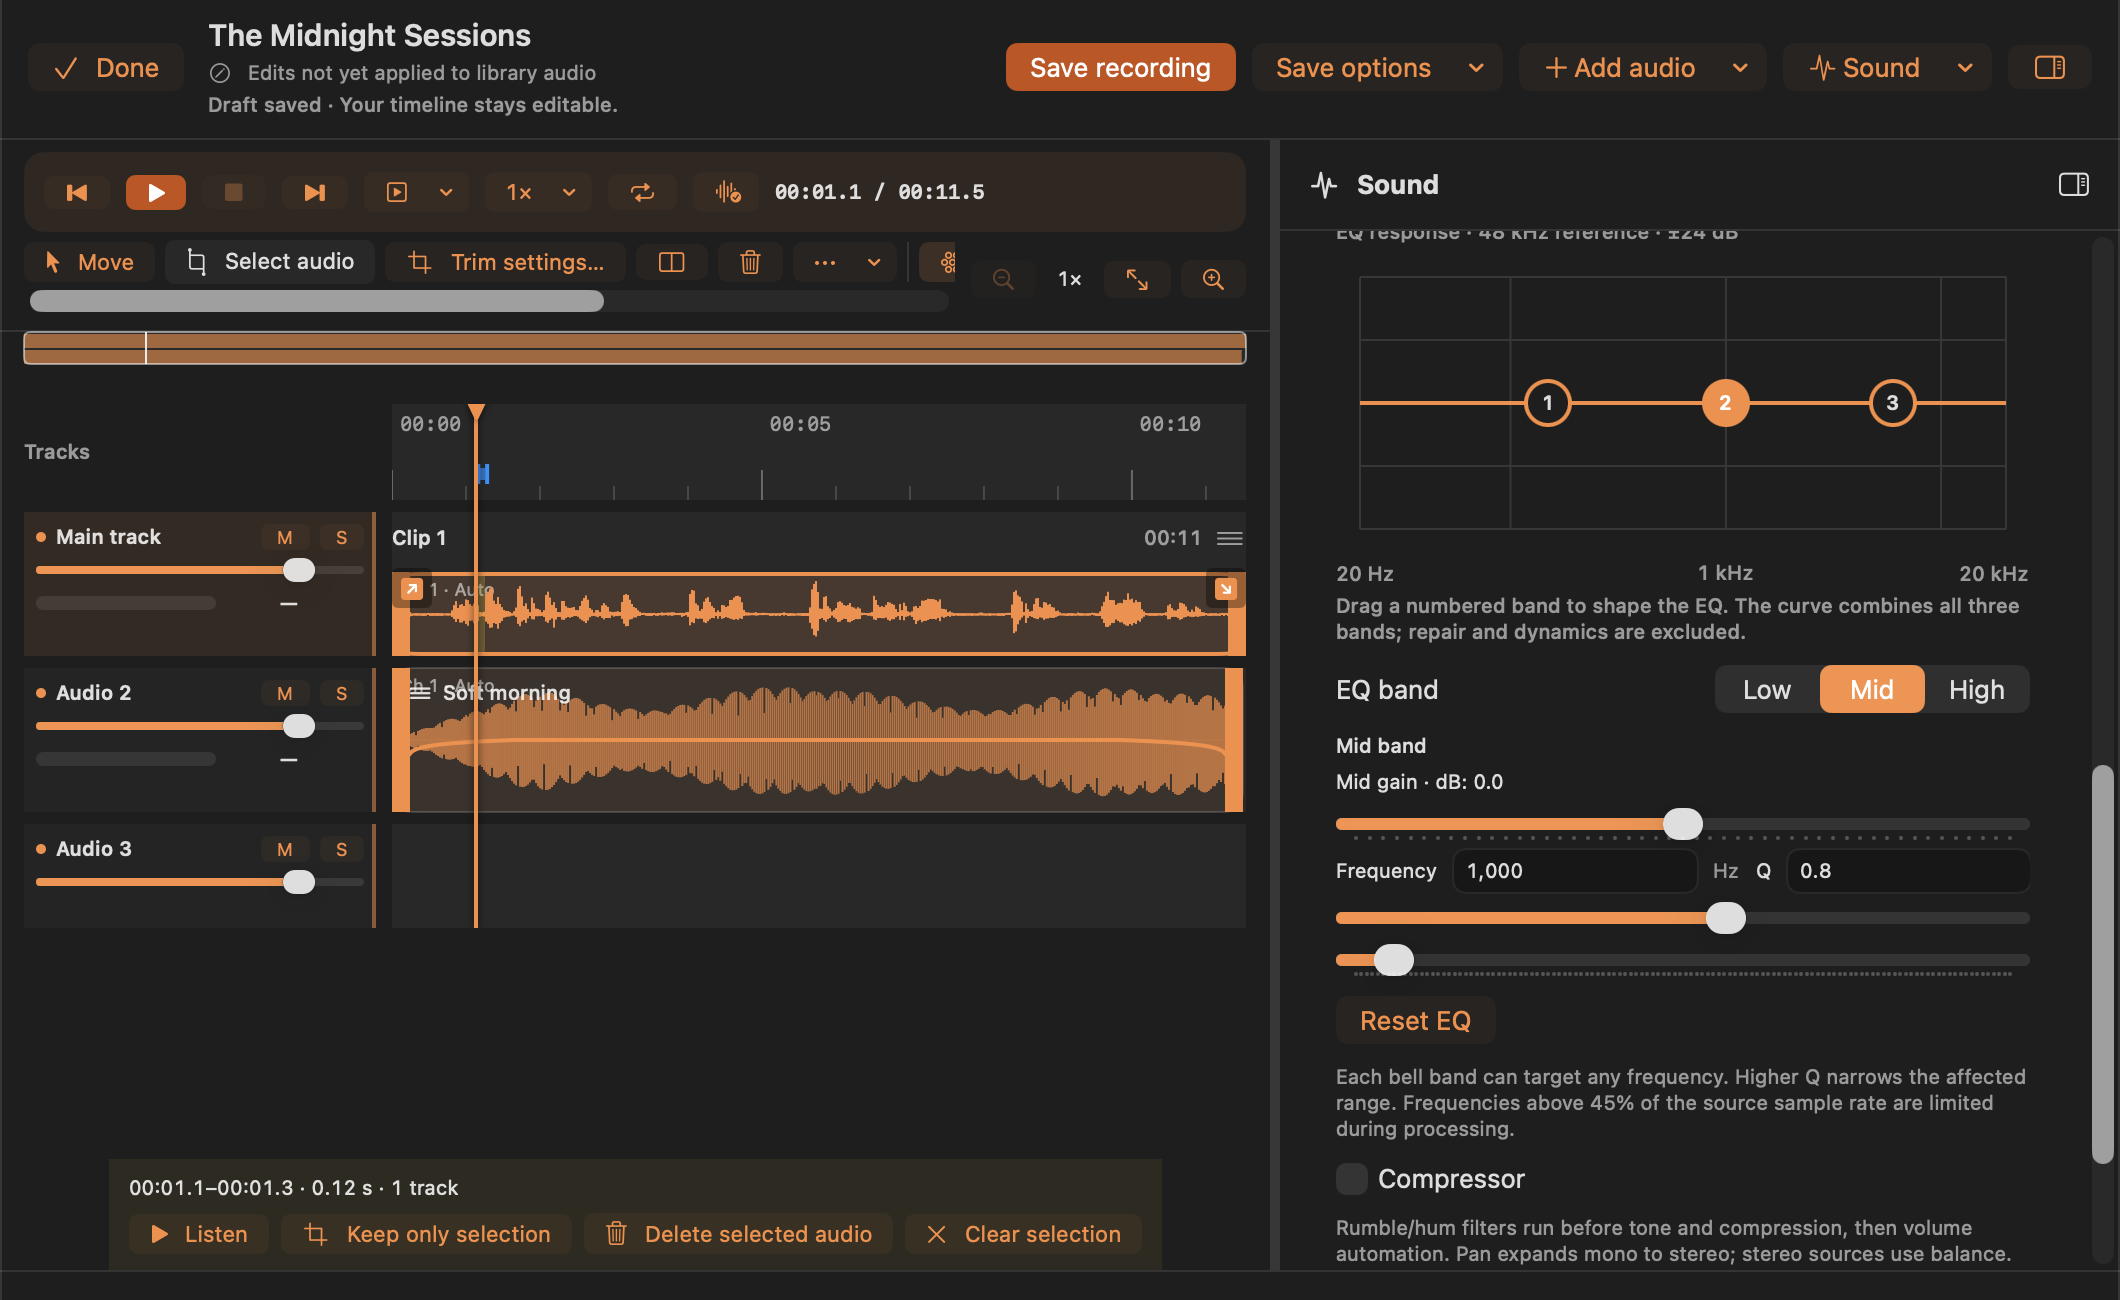
Expand Parametric EQ. Choose Low, Mid or High to see gain, frequency and Q. Drag a numbered graph handle horizontally for frequency and vertically for gain, or enter exact values. Higher Q narrows the band. Use small changes, then Reset EQ to compare a flat three-band response without resetting other processing.
Control dynamics and stereo position.
Enable Compressor and adjust threshold, ratio and makeup gain. Attack, release and knee adds exact timing controls: attack 0.1–200 ms, release 5–2000 ms, knee 0–24 dB. A wider knee eases compression in. Pan/stereo balance is independent; the first mono pan prepares a stereo cache.
Compare fairly.
Select a representative passage and choose Prepare matched A/B. Switch original/processed references at the same playback position; their measured loudness is matched. Listen for clearer words without pumping or lost texture. If you change processing, prepare the comparison again. Return to normal playback for live control updates.
Save and check the delivered sound.
Save recording or export the edited mix. Processing comes before clip/track volume and automation. Listen to the saved/exported file, including quieter words and gaps. Export loudness and true-peak checks are separate from live sample-peak meters.
Inspect a frequency before filtering
Choose Sound → Frequency spectrum → Analyze source region. It examines the selected clip/range, or a window around the playhead, up to four seconds. Check the source-time label, then use the frequency slider or 50/60 Hz shortcuts. The plot stays fixed until you analyze again. It shows original-source sound, excluding effects and other clips; it does not repair sound.
Read the EQ graph correctly
The curve combines the three bell bands at a 48 kHz reference rate. It excludes repair filters, pan, compression and automation. The graph spans ±24 dB but each band is limited to ±12 dB. Frequencies above 45% of a source’s sample rate are constrained during processing.
If processing sounds worse
Bypass one processor at a time and reduce its amount. Live EQ/compression updates as you play; noise cleanup may need preparation. Distortion already in the recording, reverberation and clicks need other treatment—these controls do not promise restoration.